ZAM Badge 2024
Überblick
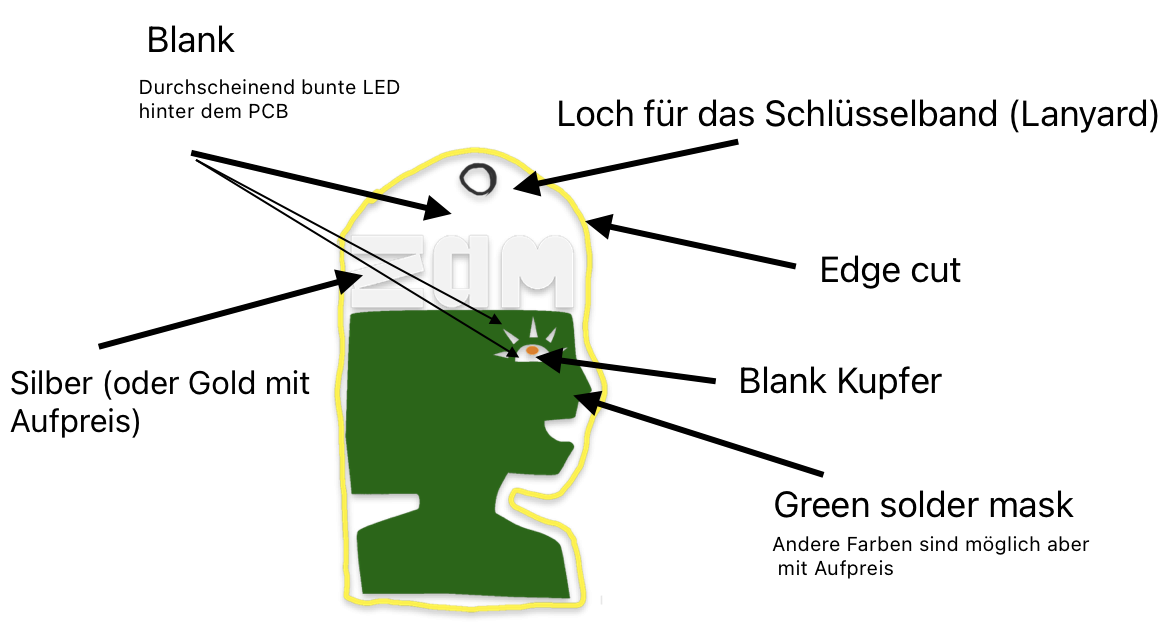
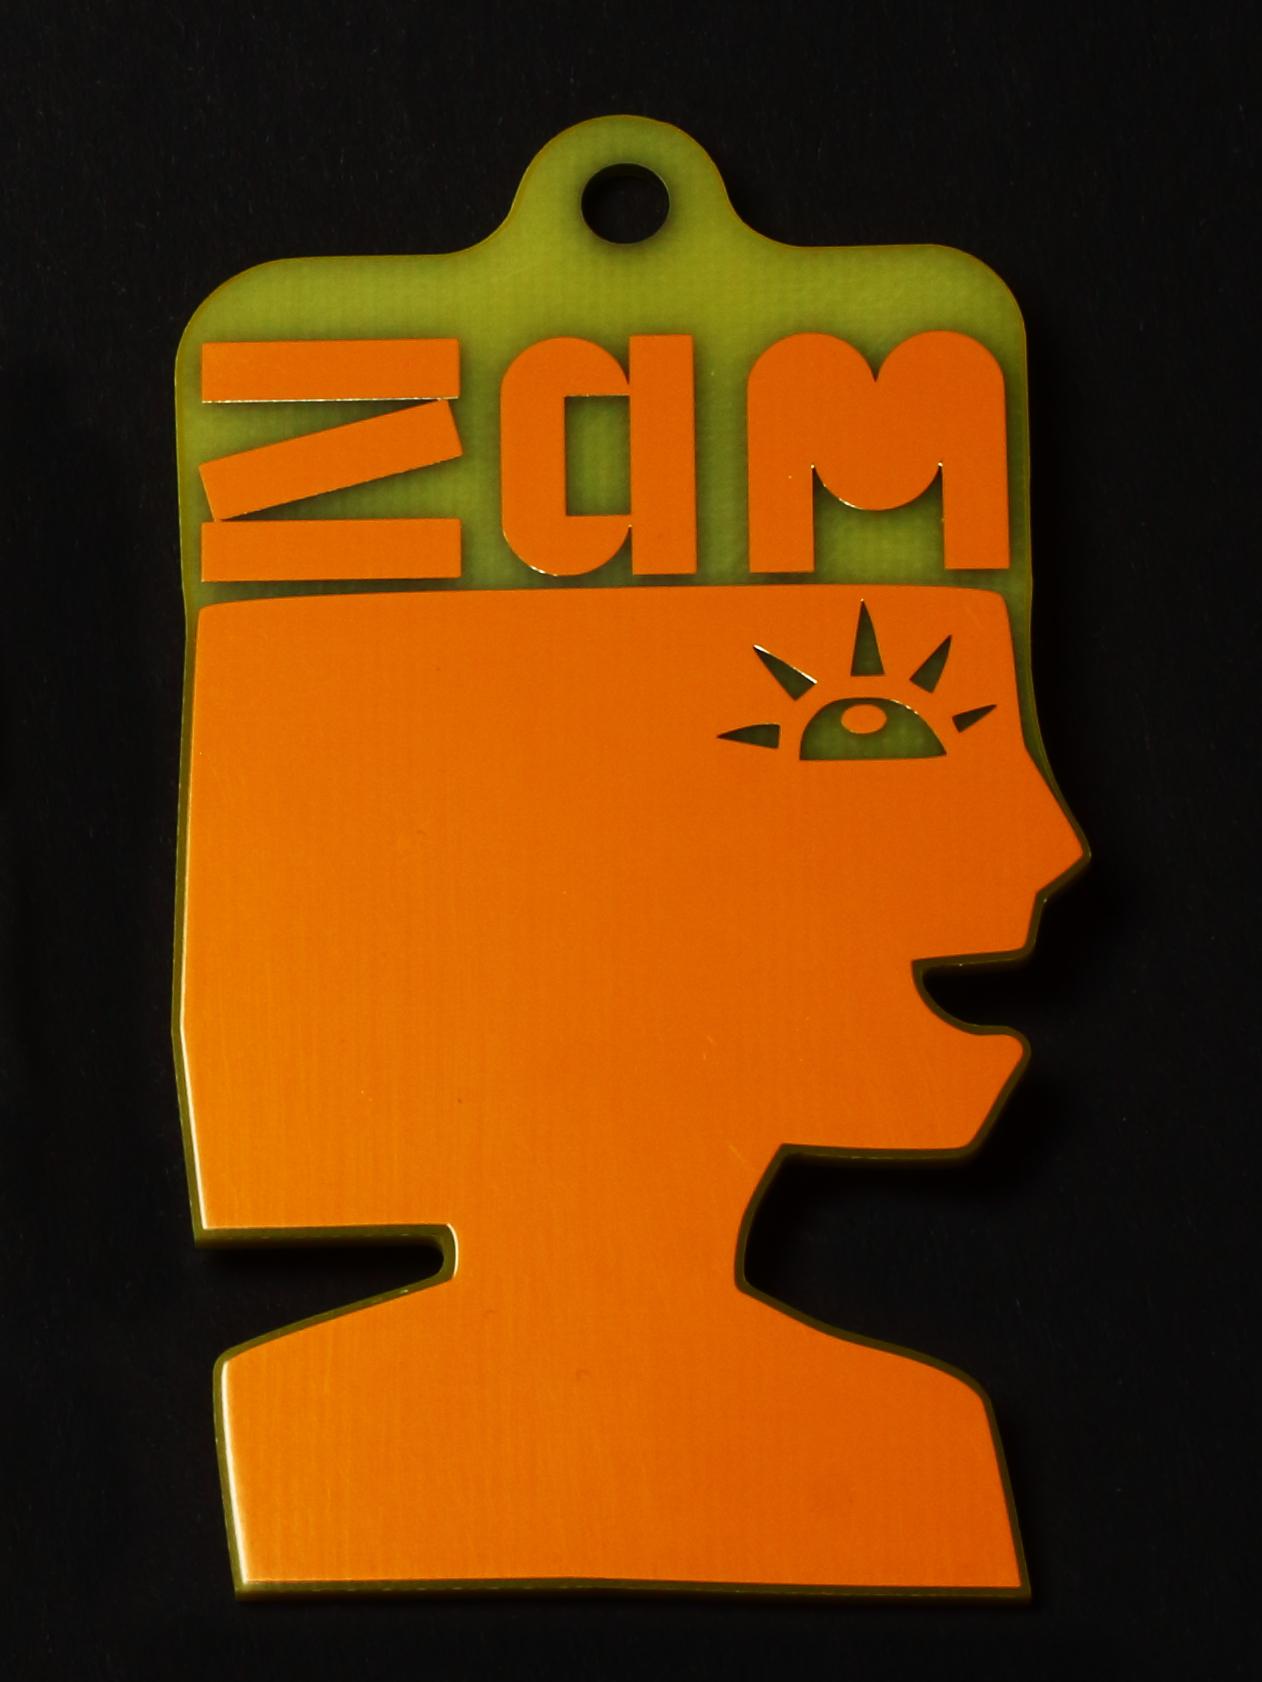
Bei der Planung des VULCA-Treffens kam die Idee eines Badge als Konferenzpräsent und Lötübung auf. Die Idee besteht darin, die folgende Grafik zu nehmen und diese in eine Leiterplatte mit blinkenden LEDs hinter dem Auge und den Buchstaben umzuwandeln.
Projekt-Metadaten
ZAM-Badge-24 GitHub Repository
Jochen Hunger jochen.hunger@betreiberverein.de
Steve Mayze smayze@yahoo.com
Logbuch / Schritte
Tag 1 Zusammenarbeit
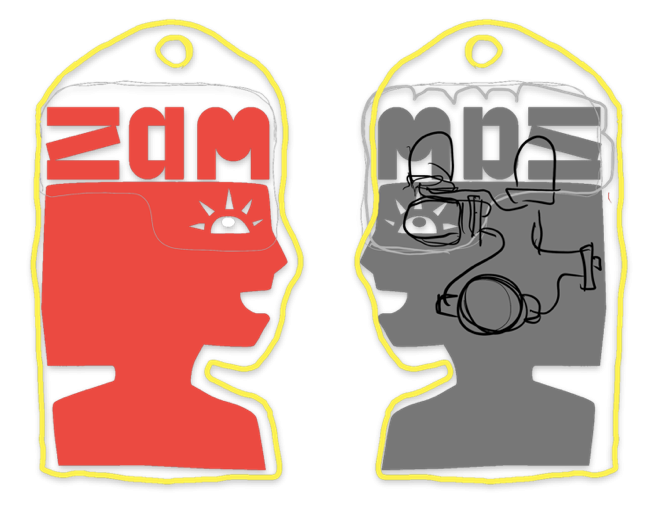
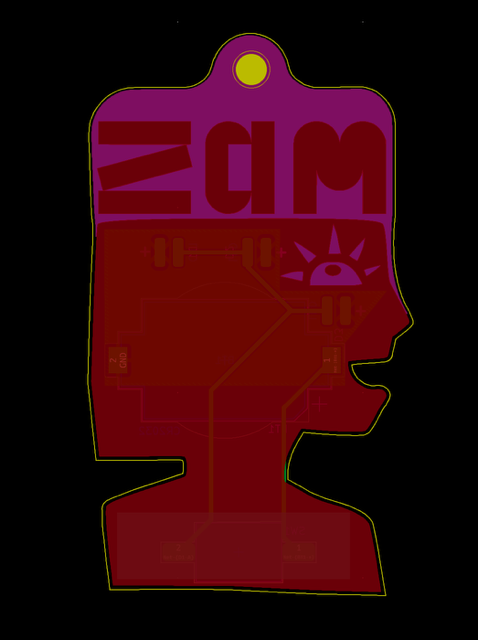
I turned graphics into PCBs before but I was further inspired by Working with artists to design beautiful boards at KiCon Europe 2024. The first thing was to come up with the concept. Given the original graphic, I outlined a possible arrangement of the PCB layers.
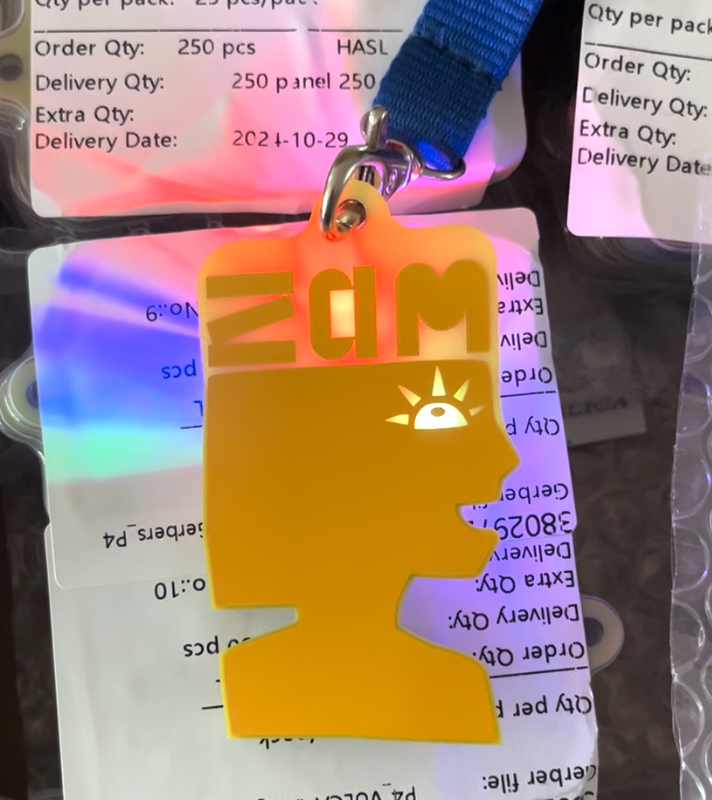
Based n this, Jochen then proposed what he was thinking. This would turn out to be fairly straight forward to develop into a PCB. The idea as too have the head and letters all in the same colour (the solder mask) and then have the area behind the eyes and around the letters free so that they blinking LED would shine through.
I embellished this a bit further with my thoughts on where the components could be placed.
Tag 2. Erstellen des Designs
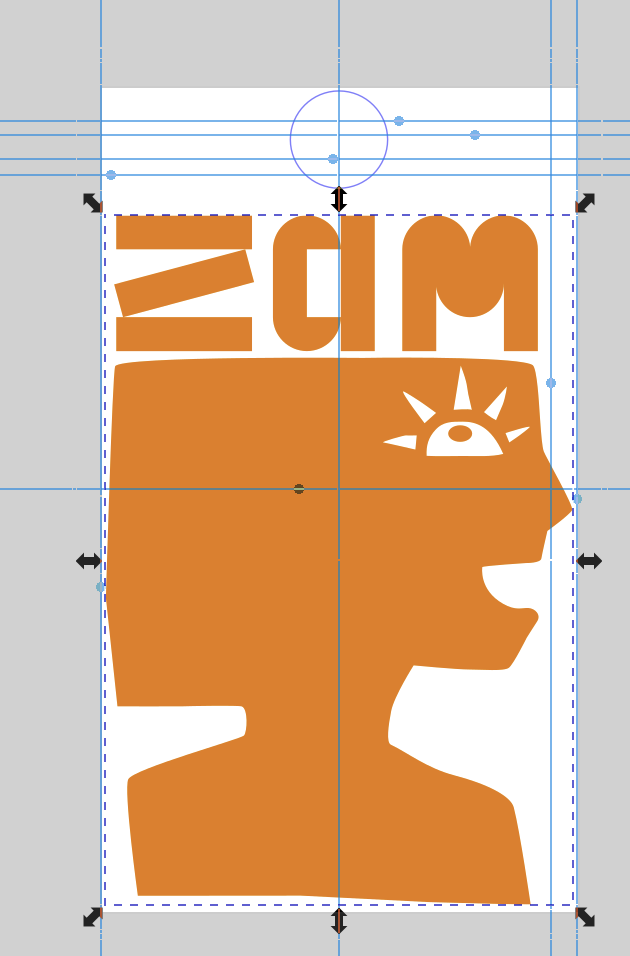
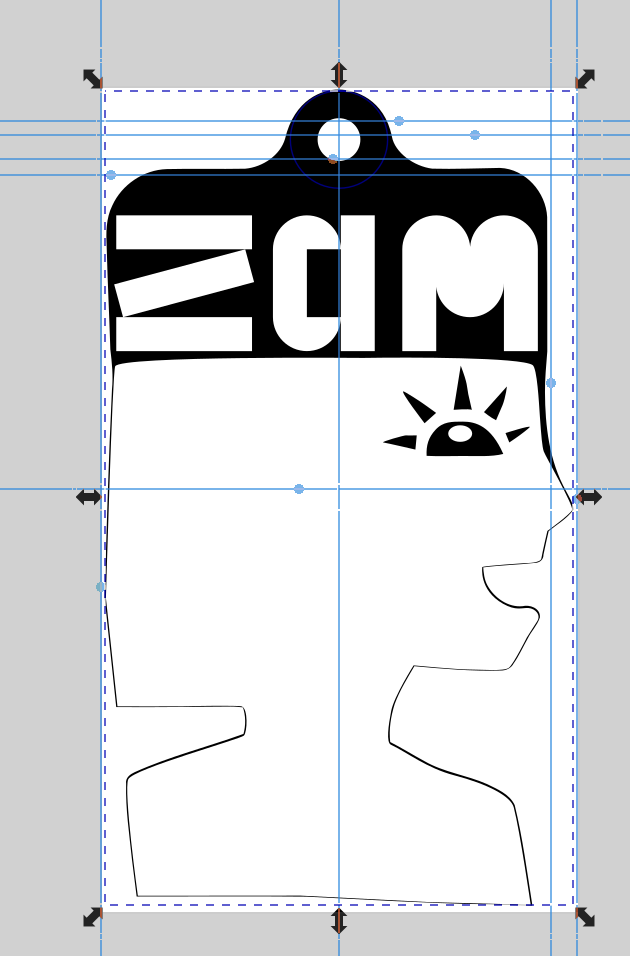
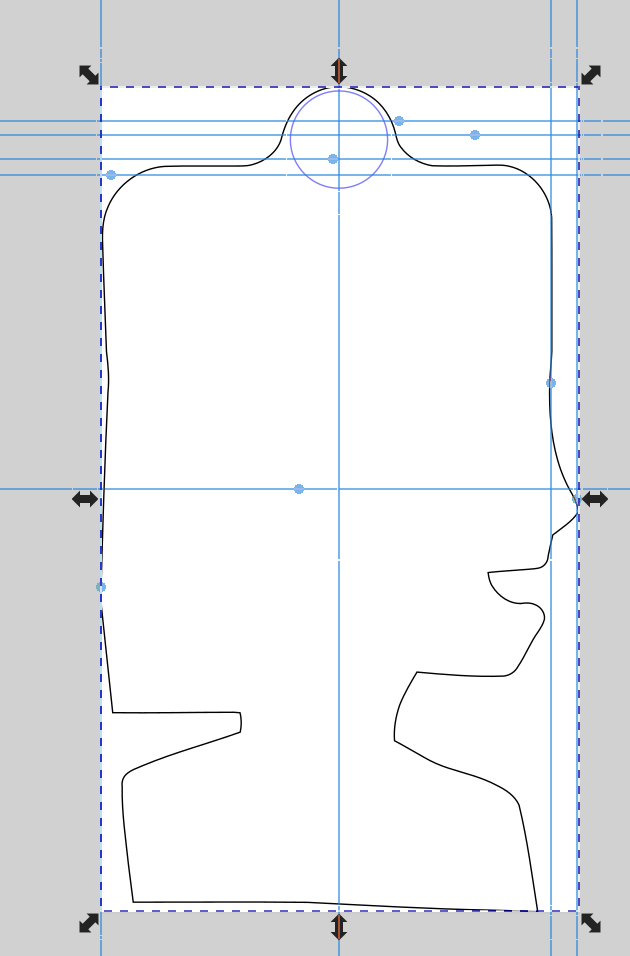
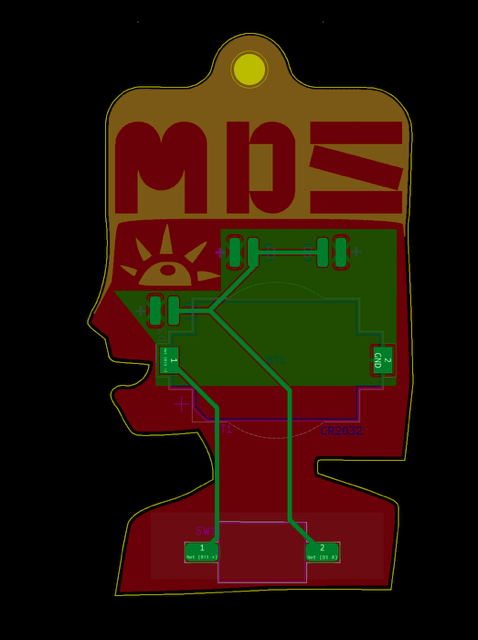
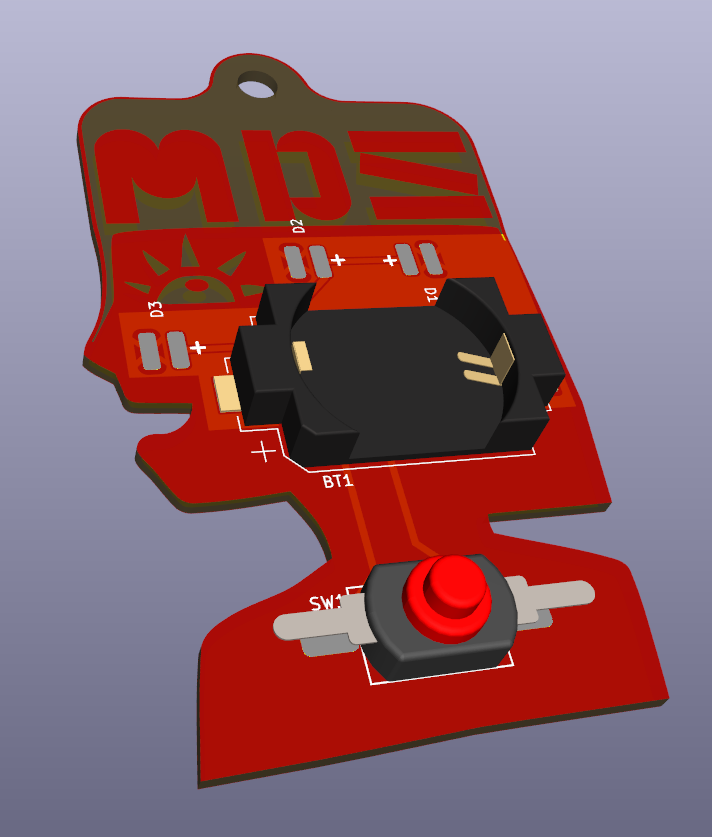
Once I had KiCad available I proceeded to turn the SVG of the graphic into a PCB. To achieve this, the layer feature of Inkscape was invaluable.
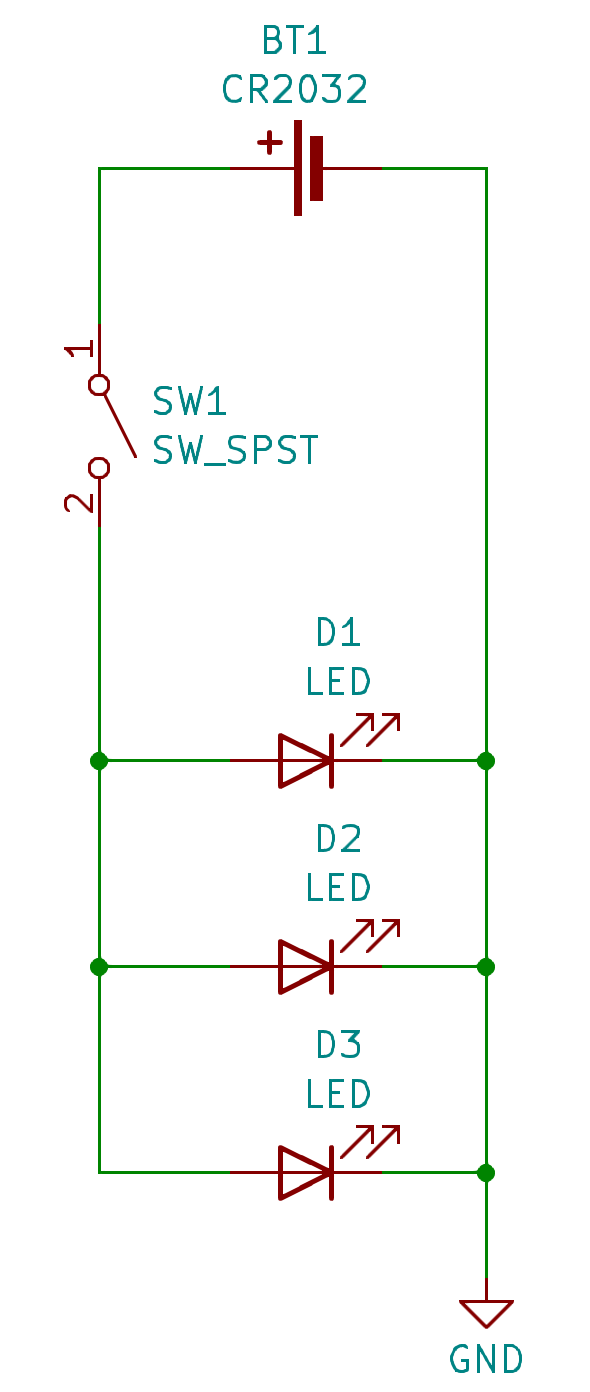
Once the layers are exported and verified, the layout of the board can begin. First of all, a simple circuit is created to defined the required parts. We don't have a lot of time for this project to try things out. So I opted to have space for three LEDs thought I believe only two will be required.
Tag 3. Montage und Prüfung
A week or so after uploading the design files to the fabricator, a panel arrived in the post. I had to assemble to see if there were any issues.
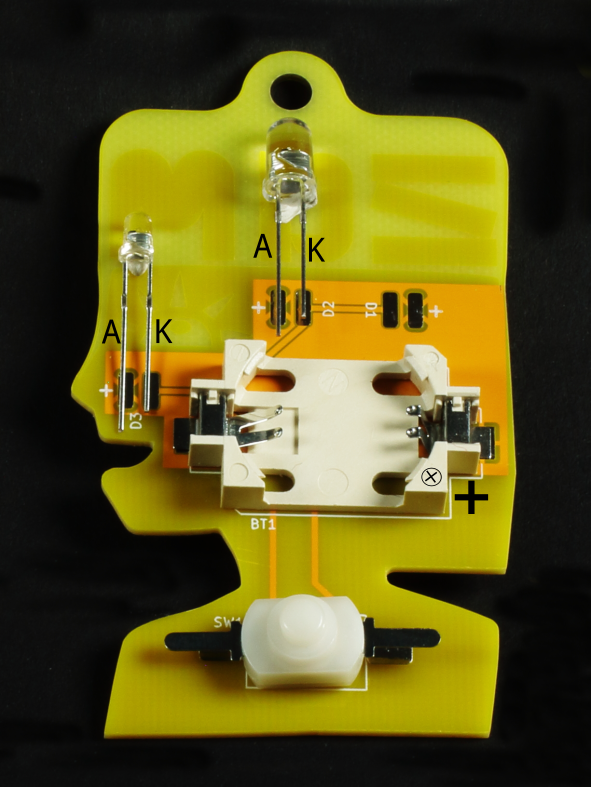
The assembly is quite simple. IWe wouldstart recommendby to soldersoldering the LEDs first. The battery holder is quite large and the LED pads are quite close. There is a risk of meltingdamaging the battery holder if the soldering iron should touch it while soldering the LEDs.
The leads of the LEDs should be bent into place and the leads cut to length. Make sure to take note of the anode and cathode of the LED. These leads need to connect to the appropriate pad. If they are connected the wrong way, you will not damage the LED. It just won't glow. The anode is the longer lead and should be placed on the pad marked with the plus (+) sign.
After the LEDs are soldered in place, then the battery holder and switch can be placed on the board. Like the LEDs take note of the orientation of the battery holder. SeeRefer to the graphic below to see the correct orientation. Please ignore the white plus (+) marked on the board. The ⊕ marking on the battery holder should be bottom right as shown intin hethe image.
The switch canhas beno solderedspecial inorientation. any arrangement but first theThe leads will need to be bent into shape so that they neatly touch their pads.
Note that for the battery holder and the switch you might need to apply more heat to get a good connection.
Bauteile
- 3mm LED - eye
- 5mm LED - ZAM letters
- CR2032 Knopfzellhalter
- Schalter

