ZAM Badge 2024
Überblick
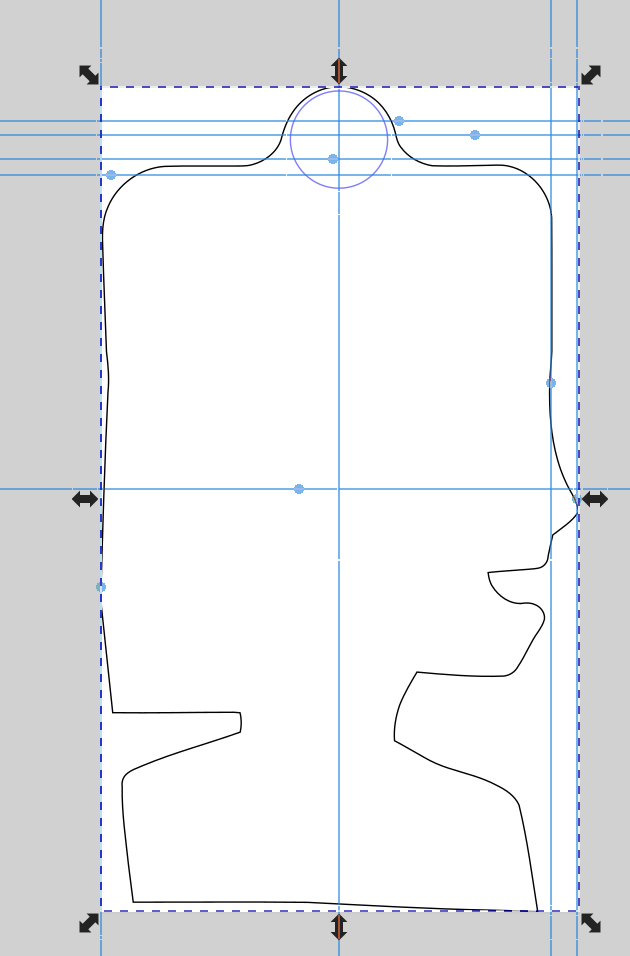
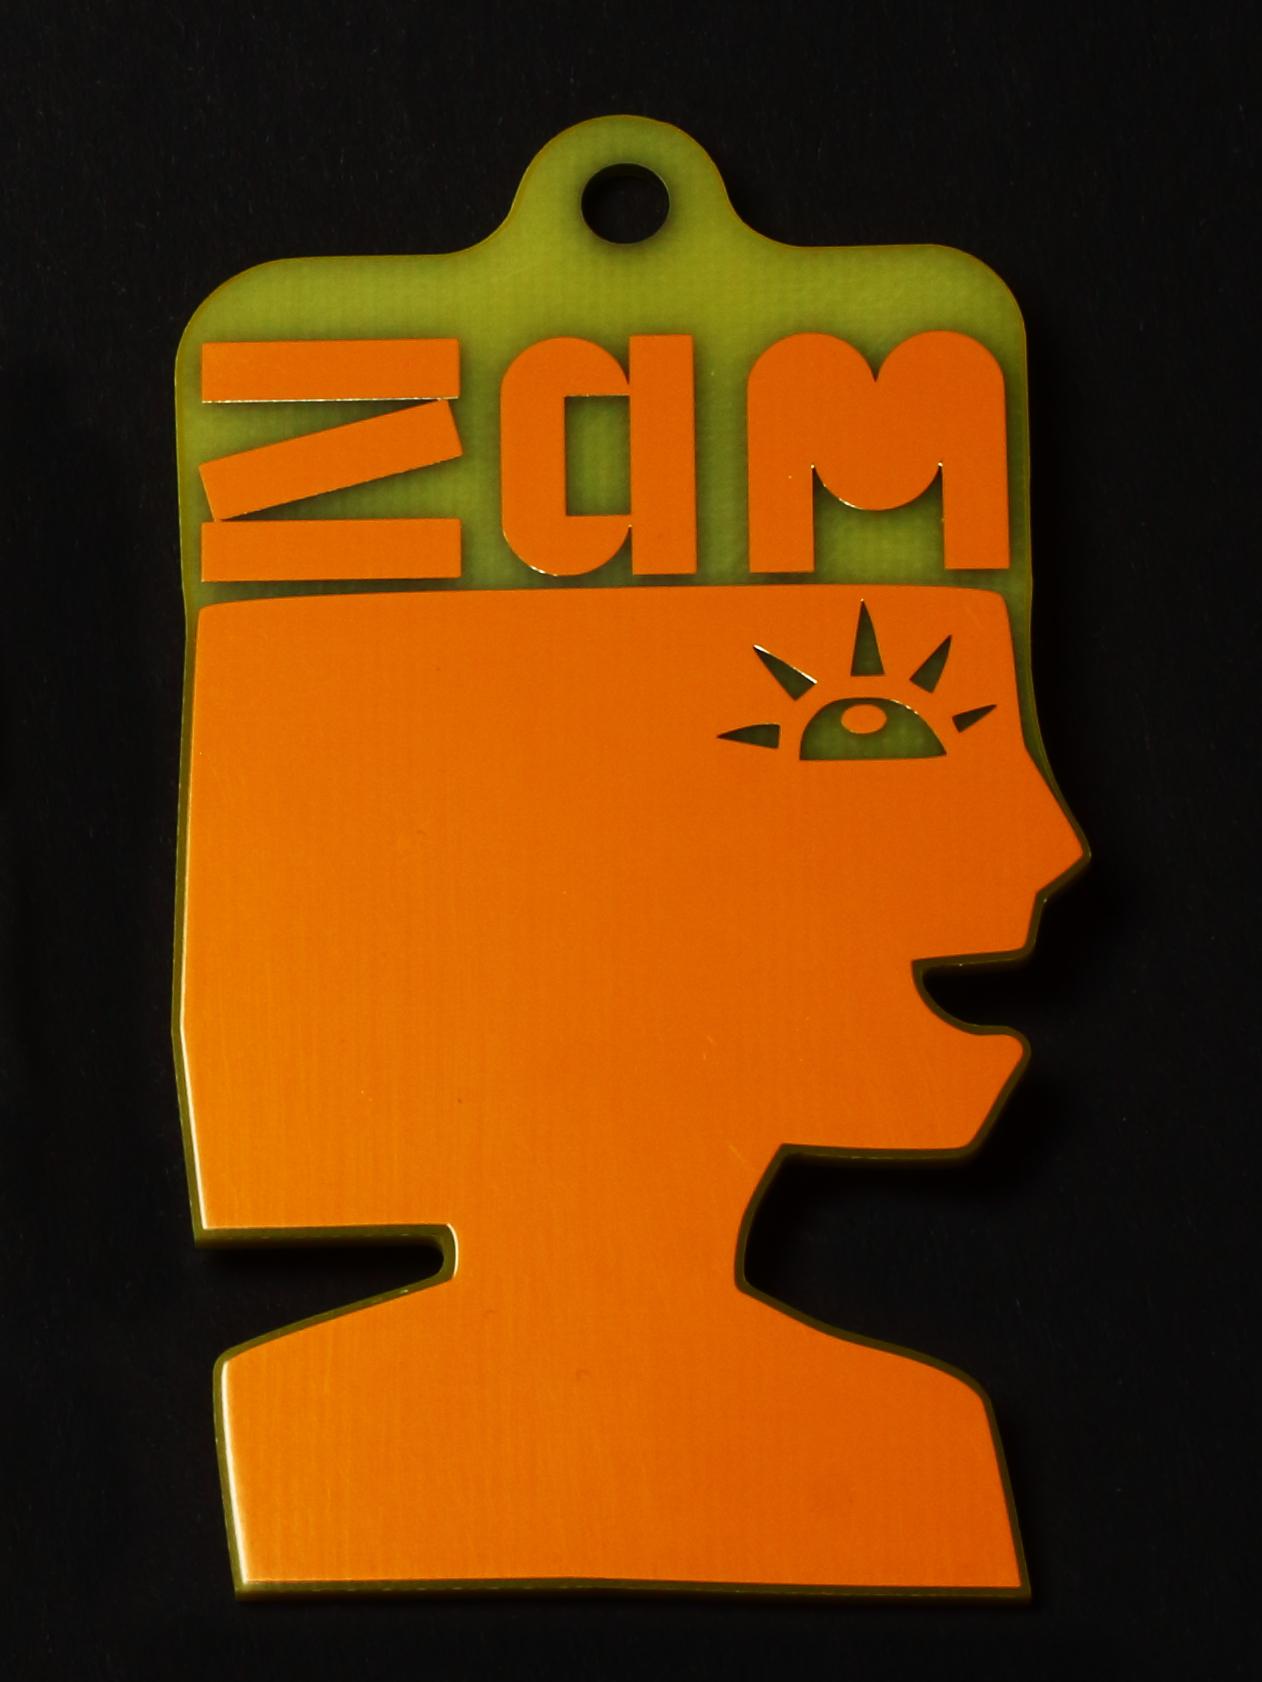
Bei der Planung des VULCA-Treffens kam die Idee eines Badge als Konferenzpräsent und Lötübung auf. Die Idee besteht darin, die folgende Grafik zu nehmen und diese in eine Leiterplatte mit blinkenden LEDs hinter dem Auge und den Buchstaben umzuwandeln.
Projekt-Metadaten
ZAM-Badge-24 GitHub Repository
Jochen Hunger jochen.hunger@betreiberverein.de
Steve Mayze smayze@yahoo.com
Logbuch / Schritte
Tag 1 Zusammenarbeit
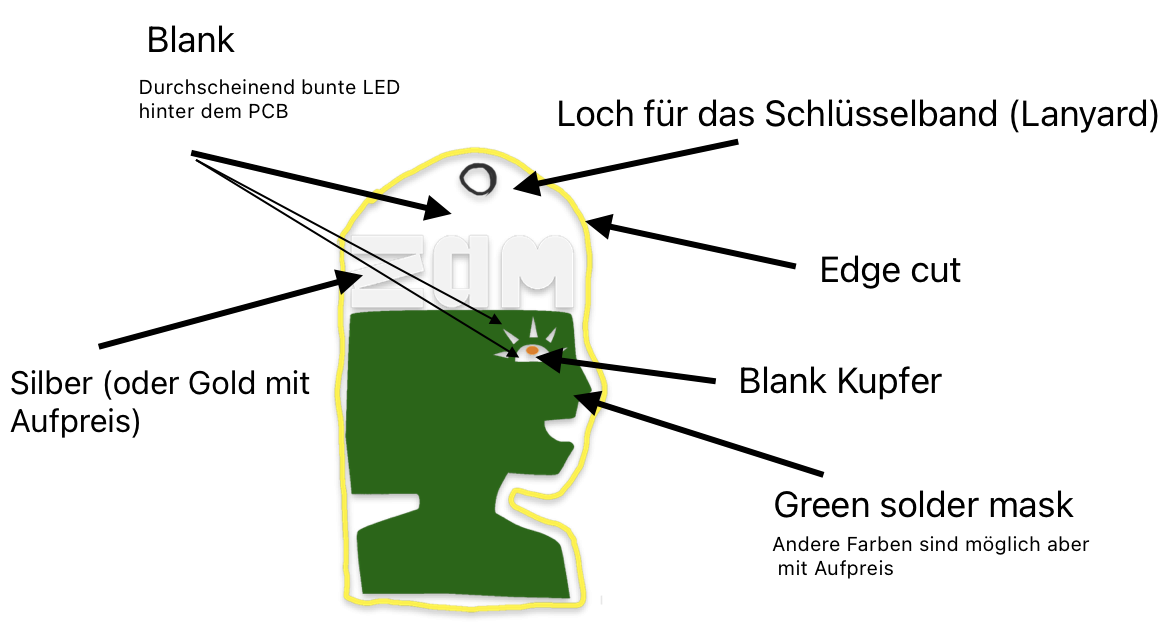
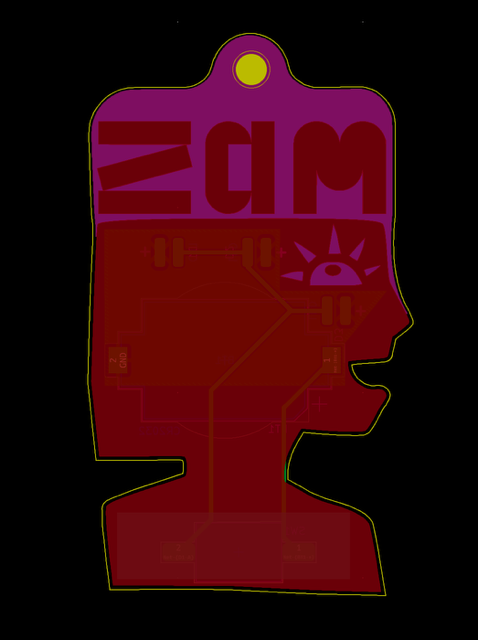
Ich habe schon früher Grafiken in PCBs umgewandelt. Ich wollte dieses Projekt unbedingt in Angriff nehmen, da ich einige Wochen zuvor an der KiCon Europe 2024 teilgenommen hatte und den Vortrag „Zusammenarbeit mit Künstlern, um schöne Platinen zu entwerfen“ sehr genossen hatte. Als Erstes musste ich mir das Konzept ausdenken. Auf Grundlage der Originalgrafik skizzierte ich eine mögliche Anordnung der PCB-Schichten.
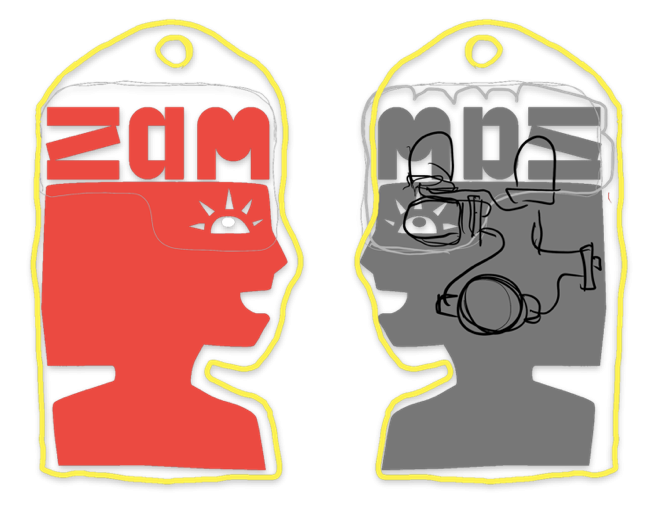
Basierend auf dieser Skizze hat Jochen dann seine Vorstellungen dargelegt. Daraus ließe sich relativ einfach eine Leiterplatte entwickeln. Die Idee ist, Kopf und Buchstaben alle in der gleichen Farbe zu haben (die Lötmaske) und dann den Bereich hinter den Augen und um die Buchstaben herum frei zu lassen, damit die blinkenden LEDs hindurchscheinen.
 Ich habe dies noch etwas weiter ausgeschmückt und mir Gedanken darüber gemacht, wo die Komponenten platziert werden könnten.
Tag 2. Erstellen des Designs
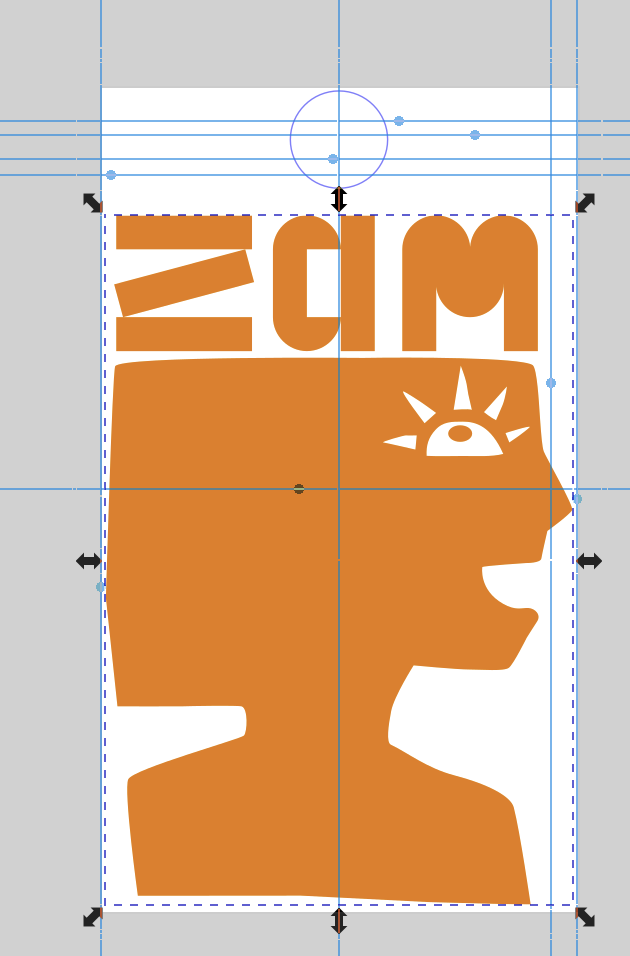
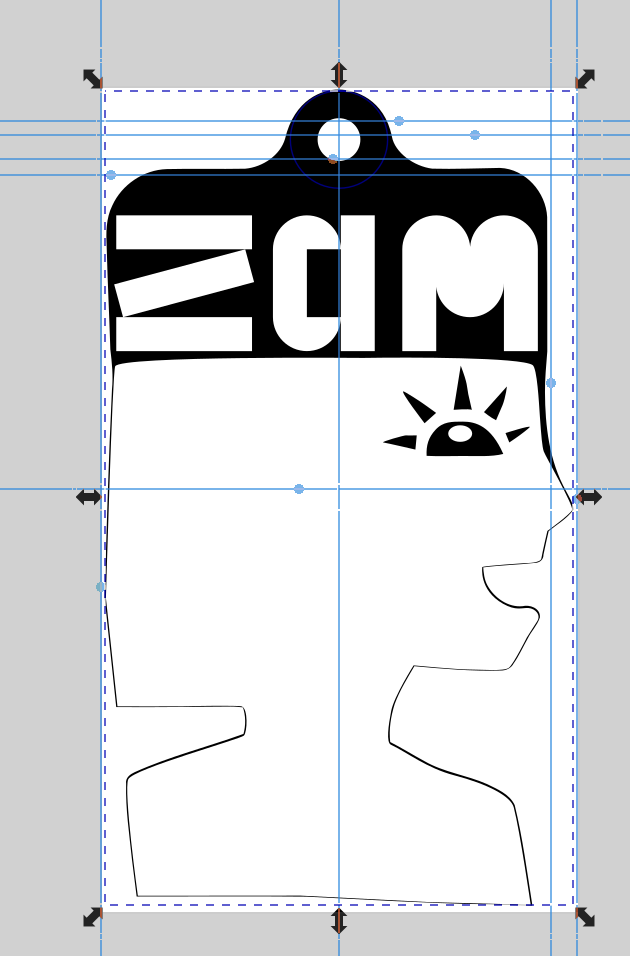
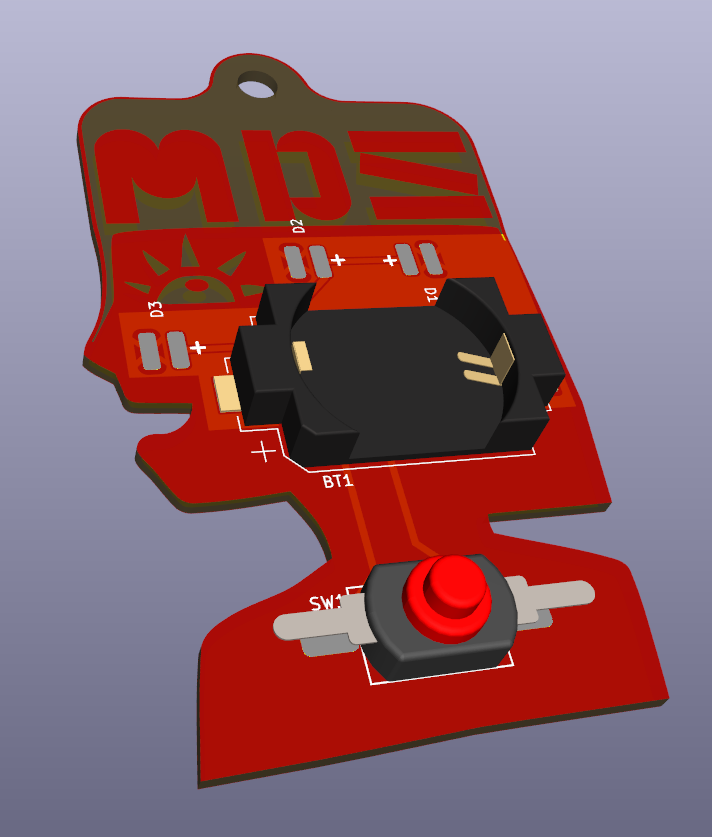
Once I had KiCad available I proceeded to turn the SVG of the graphic into a PCB. To achieve this, the layer feature of Inkscape was invaluable.
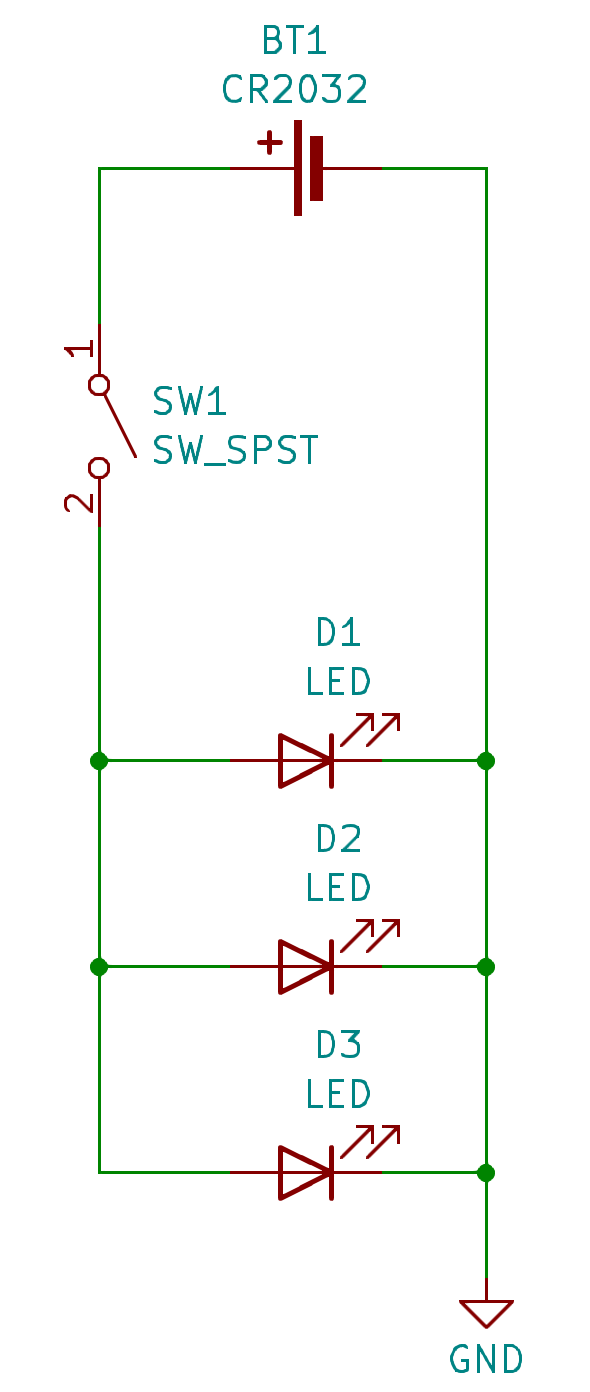
Once the layers are exported and verified, the layout of the board can begin. First of all, a simple circuit is created to defined the required parts. We don't have a lot of time for this project to try things out. So I opted to have space for three LEDs thought I believe only two will be required.
Tag 3. Montage und Prüfung
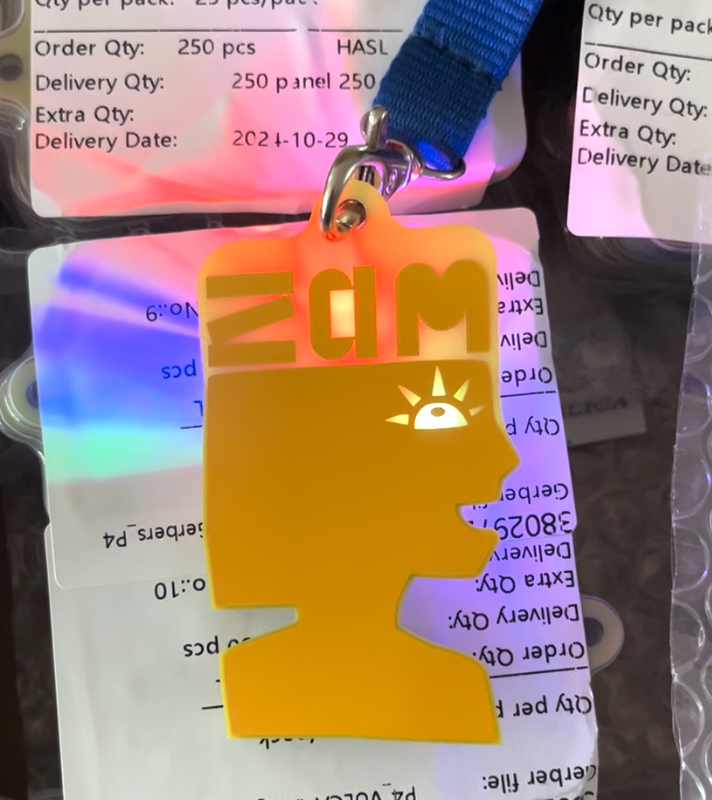
A week or so after uploading the design files to the fabricator, a panel arrived in the post. I had to assemble to see if there were any issues.
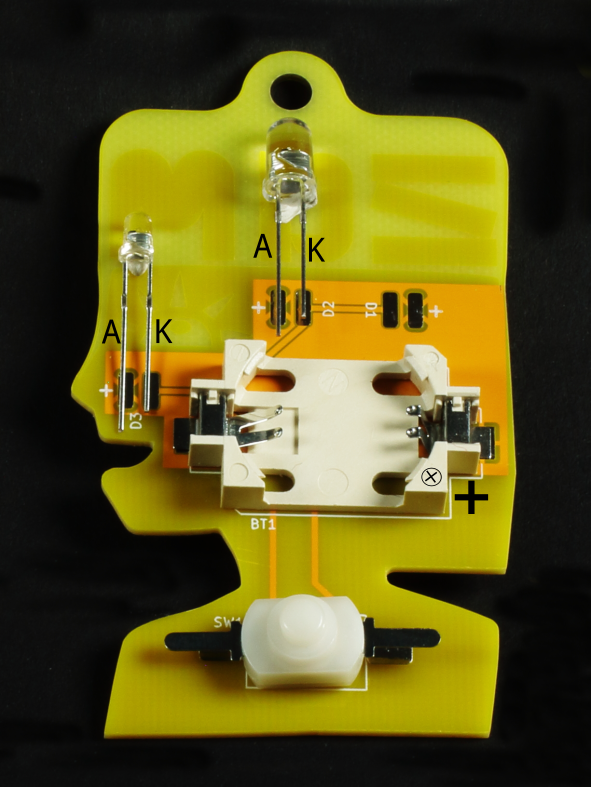
The assembly is quite simple. We start by soldering the LEDs first. The battery holder is large and the LED pads are quite close. There is a risk of damaging the battery holder if the soldering iron should touch it while soldering the LEDs.
The leads of the LEDs should be bent into place and cut to length. Make sure to take note of the anode and cathode of the LED. These leads need to connect to the appropriate pad. If they are connected the wrong way, you will not damage the LED. It just won't glow. The anode is the longer lead and should be placed on the pad marked with the plus (+) sign.
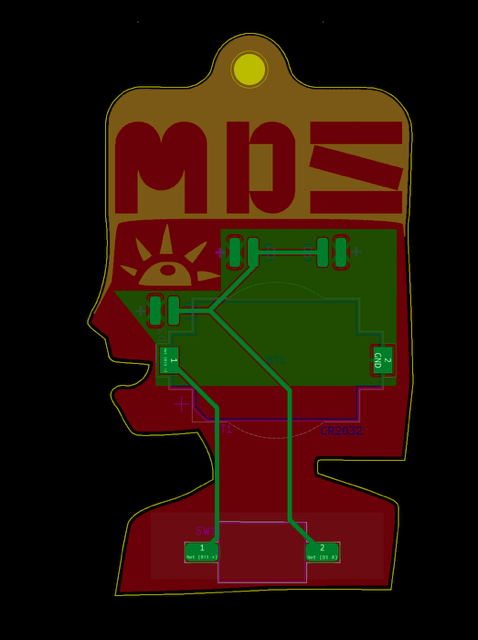
After the LEDs are soldered in place, then the battery holder and switch can be placed on the board. Like the LEDs take note of the orientation of the battery holder. Refer to the graphic below to see the correct orientation. The ⊕ marking on the battery holder should be bottom right as shown in the image.
The switch has no special orientation. The leads will need to be bent into shape so that they neatly touch their pads.
Note that for the battery holder and the switch you might need to apply more heat to get a good connection.
Bauteile
- 3mm LED - eye
- 5mm LED - ZAM letters
- CR2032 Knopfzellhalter
- Schalter




No comments to display
No comments to display